Every time I encourage someone to approach PowerPoint a little more differently, I always get the same excuse.
“I’m just not creative enough.”
I find that statement infuriating. If people just took the time to learn a few tricks in PowerPoint, they’d be able to create stellar PowerPoint slides in minutes.
To prove my point, I created this tutorial to show the world how easy it is to create something beautiful by using an ordinary list. And yes, that means skipping the bullet points.
You’ll be able to get a slide just like the one you see above, in less than 10 minutes.
The Video Tutorial
Everything you need to do is shown step-by-step in the video below. You’ll be done in no time. I’ve also summarized the steps in this post.
Step 1: Find a Background Picture for Your PowerPoint Slide
First things first, you need a beautiful, high-resolution image to make up your slide background.
Lucky for you, Slide Cow published a post showing four different resources where you can get these images for free.
But don’t go for just any image. Be sure to use the BARE principle to pick the perfect one that matches your communication goals.
For this tutorial, I’m using a fantastic view of some brown hills, and because it’s so beautiful, I made sure the image takes up the entire slide.
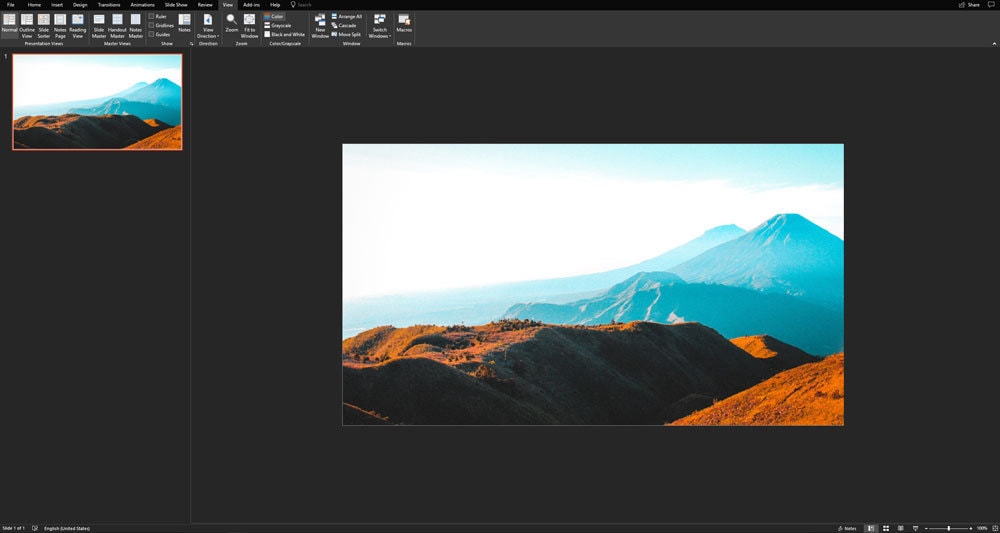
Step 2: Add the Overlay and Title
To add the overlay effect, go to Insert > Insert Shapes > Rectangle. Now draw out a rectangle in the middle of the slide. Change the color to black, and set the transparency to around 15%.

Now’s the time to add a title. To do this, go to Insert > Insert Text Box and draw out a text box on the left side of the overlay you just made. Type in your title.
You can be as creative as you want here. Choose whatever font, size, and color that appeals to you. But if you’re after my results, then follow these options:
- Set the font to Arial Nova.
- Change the font size to 28 points.
- Highlight the text and go to Home > Character Spacing > Loose
- Highlight the text again and go to Home > Line Spacing Options. A dialog box will pop up. Under Spacing, set the ‘Line Spacing’ to multiple, and set the numeric figure to 1.25
When you’re done, go to Insert > Insert Shape > Rectangle. Draw out a thin rectangle just underneath your title, and make sure there’s some good space between the title and the rectangle you’ve just drawn out. Don’t forget to change the color of the shape and remove the outline.

Step 3: Beautify Your List With Icons
If you’re wondering how to bring in fully editable icons into your PowerPoint slide, then look at Slide Cow’s icon guide. If you’re feeling extra creative, then be sure to check out how you can add long shadow effects to your icons.
My list has four points, so I went with four text icons to represent each point. Needless to say, if you have more items on your list, then bring in more icons.
Once you have your icons loaded, keep them off the slide canvas for now.
Now, go to Insert > Insert Text Box and draw out a text box somewhere on the right slide of the overlay effect you made. In this text box, you want to put only one of the items on your list. Remember, each text box represents one item.
For this tutorial, my textbox is designed with the Arial font at 12 points. But you can go with whatever you’d like.
When you’re happy with your text, bring in an icon that symbolizes what you typed and place it above your text, aligned to the left.
![]()
Now replicate the text box and icon as many times as you need to make sure you include all the points in your list. Position these cautiously, as you want to have enough white space in your PowerPoint slide.
Right now, you should have as many text boxes and icons that you need to capture your entire list on the right side of the overlay.
Now comes the tricky part.
You have to find a way to position everything (your list items and title) to the center of the slide without overlapping any elements. This can be done by eye, but if you’re looking for something precise, then use the Group and the Align Middle features. You can see how I used them in the video tutorial.

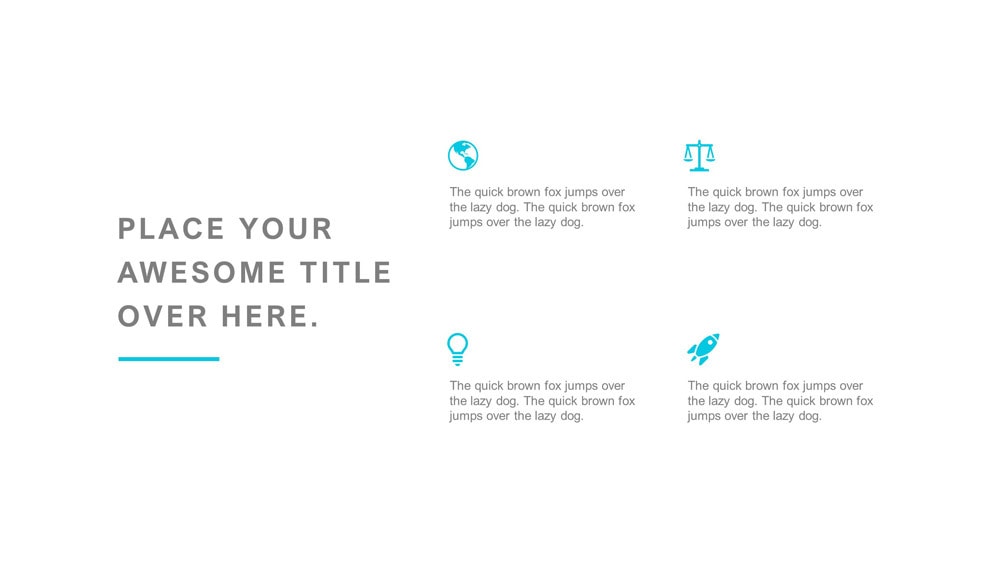
A Professional Look
Okay, so if you’re in an industry that doesn’t tolerate artsy-farty techniques, then don’t worry!
All you have to do is remove the image and overlay, and change the color of the text to grey.
And by the way, if you’re looking for PowerPoint slides that you can use within minutes, then check out Sleek. It’s a PowerPoint template that was designed for the corporate world.
PowerPoint Lists That Are Beautiful!
How easy was that?!
See? I told you! You don’t need to spend hours and hours to be creative. You can learn how to create beautiful PowerPoint slides by following easy-to-implement techniques.
No more excuses! Get to work and create something stunning.

Very impressed. Your PowerPoint skills and tutorials are top-notch! I am learning so much from all of your videos. Thank you!