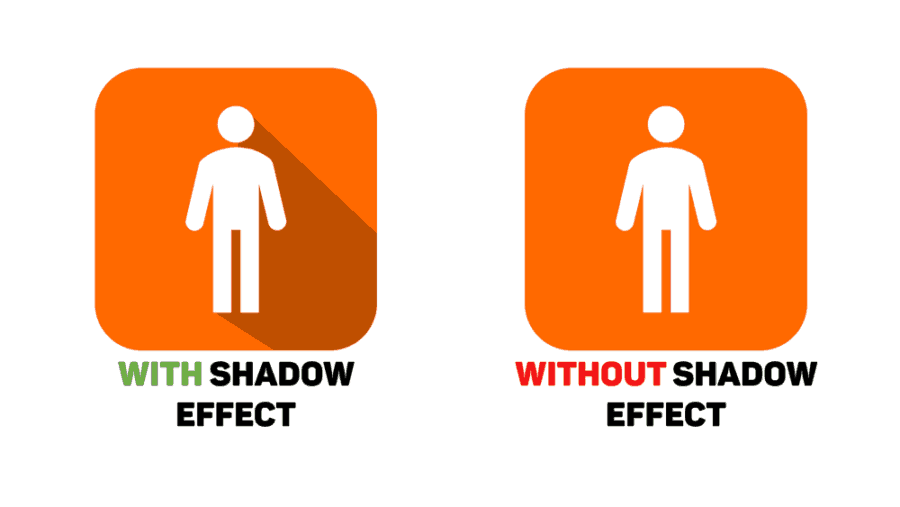
In this tutorial, we’re going to discover how to add icon shadow effects to really make your icons pop on your PowerPoint slides.
CAN YOU EXPLAIN THIS A LITTLE MORE?
Yep!
I’ve mentioned this so many times, and I’ll mention it again: icons are really important for your PowerPoint slides. I’ve even made a blog post explaining why right over here.
In this post, we’re going to take PowerPoint design to the next level by adding icon shadow effects.
You can see what I mean below.
IS IT EASY TO DO?
I have to level with you, you may find some difficulty at the beginning. But, once you get going and know exactly what to do, it’s really easy to do.
WHY SHOULD I CONSIDER ADDING LONG SHADOW EFFECTS TO MY ICONS?
You should consider this technique of adding icon shadow effects when you want to:
- Add an extra level of design to your PowerPoint slide.
- Want your audience to focus on the icons on your PowerPoint Slide.
WHAT WILL THIS POWERPOINT TUTORIAL COVER?
This PowerPoint tutorial will teach us how to:
- How to important customizable and editable icons onto your PowerPoint slide.
- How to add icon shadow effects to your icons using a combination of a three-point technique and intersecting/merging shapes in PowerPoint.
P.S.: A NOTE TO ALL THE PROFESSIONAL DESIGNERS OUT THERE
You might have done this before on a different piece of software such as Photoshop, Illustrator or InkScape. Just keep in mind that PowerPoint, although functional, is limited. I’ve tried the methods such as moving the icon to the bottom right and fragmenting a shape in between to snap to the icon. These methods were simply inconsistent because the vector designs vary considerably. The method I have posted is the only method I have found, till now, that works on a consistent basis. If you did manage to find another technique that is easier on PowerPoint, I will be happy to feature another tutorial and give full credit to you.
