Let's be honest.
How many times have you witnessed a PowerPoint objectives slide that looked so bland that you cringed?
Did it happen to look a little something like this?
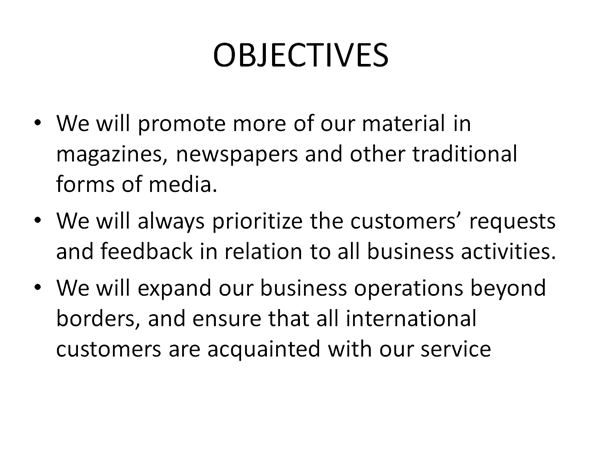
The Horror!
Presentation Objectives Matter!
Realize that a dull objectives slide will set your entire presentation up for failure.
The way I see it, the objectives slide is arguably the most important one of the lot.
Yes, it's true.
Think about it: this slide is going to be among the first things your audience is going to engage with.
On top of that, your PowerPoint objectives are practically embedded in everything you're trying to communicate!
Give your objectives slide the importance it deserves and learn how to beautifully present objectives in PowerPoint.
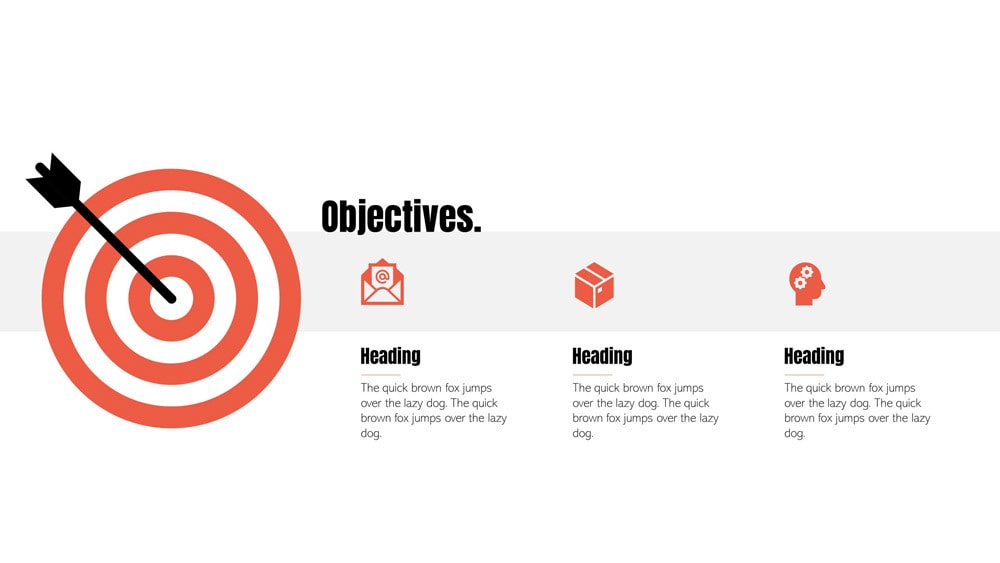
All you have to do is follow this tutorial, and you'll end up with a crisp, sleek, and awesome-looking slide just like the one below!
VIDEO TUTORIAL
Designing a Beautiful Objectives Slide
For your own convenience, I'll show you everything you need to do to make a stellar objectives slide in the video below. I've also summarized the steps in this post.
?Step 1: Make the Dart and Dart Board
In this step, we're going to be playing with different PowerPoint shapes to make a cool dartboard infographic for your presentation objectives.
The Dartboard
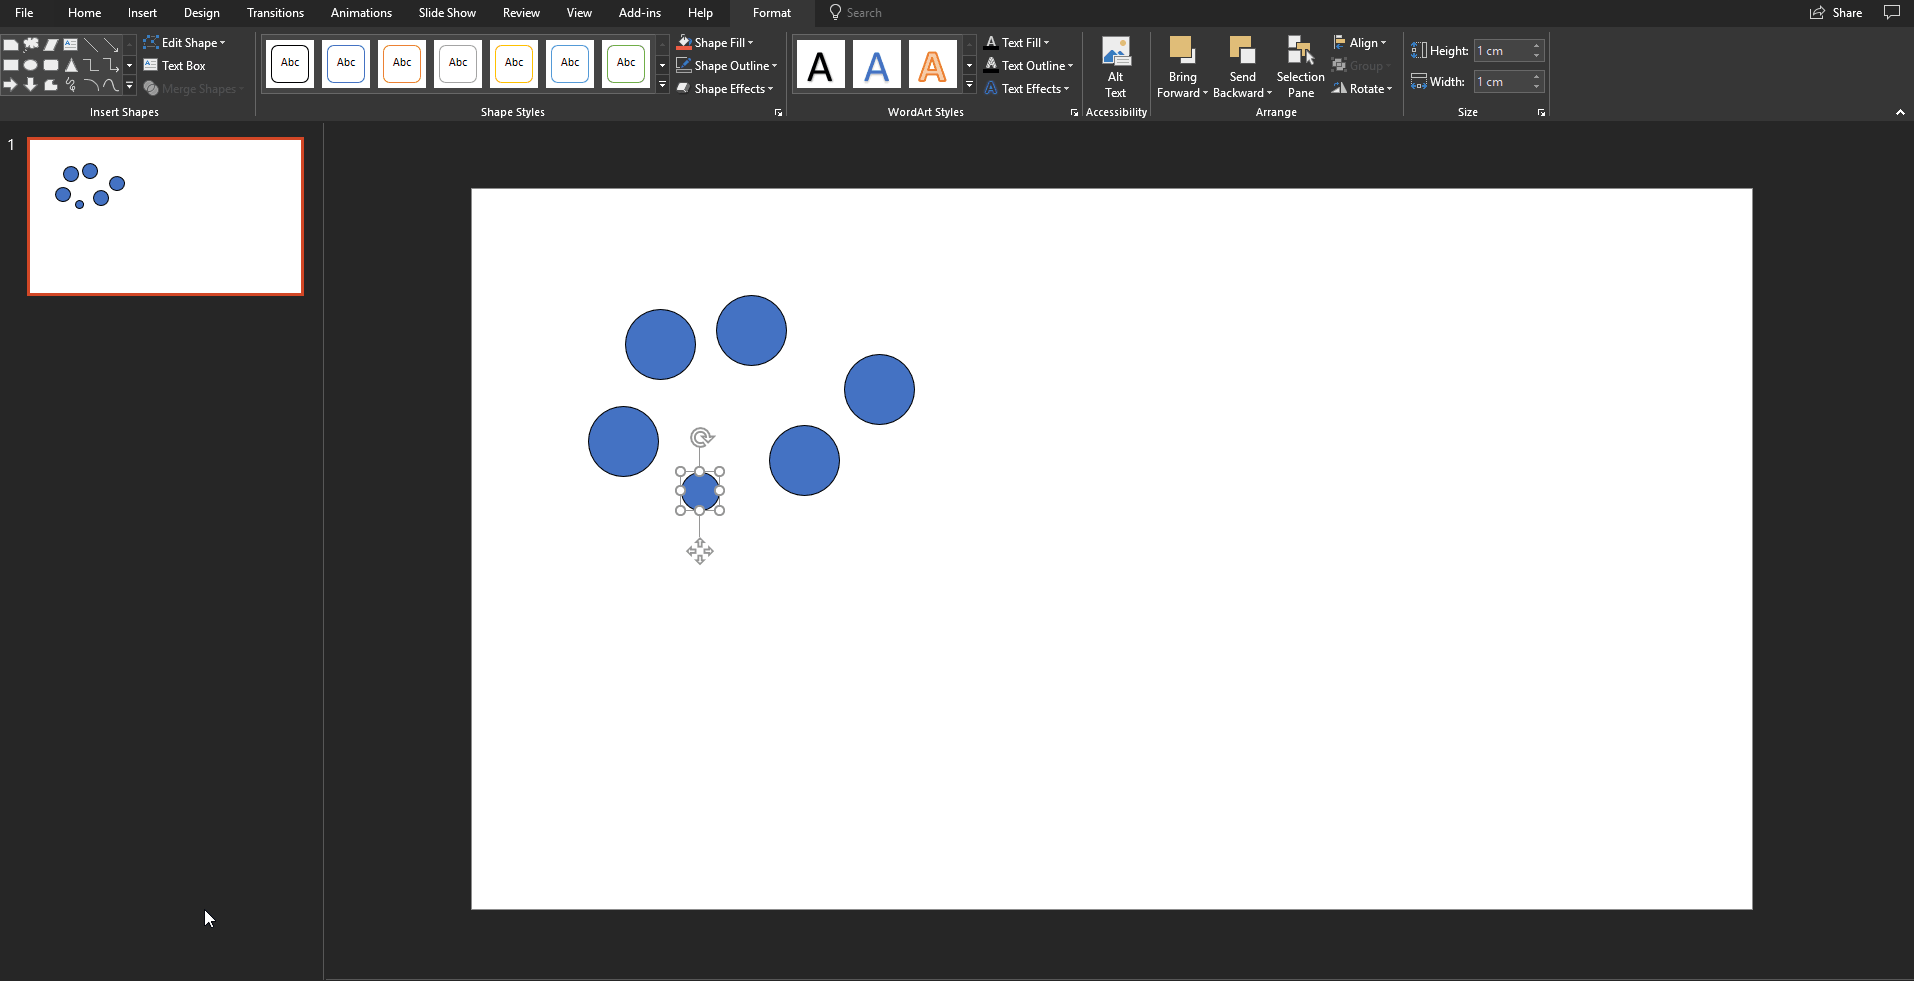
First off, bring in six circles into your PowerPoint slide (it doesn't matter where, or how big they are; we'll fix all that up later).
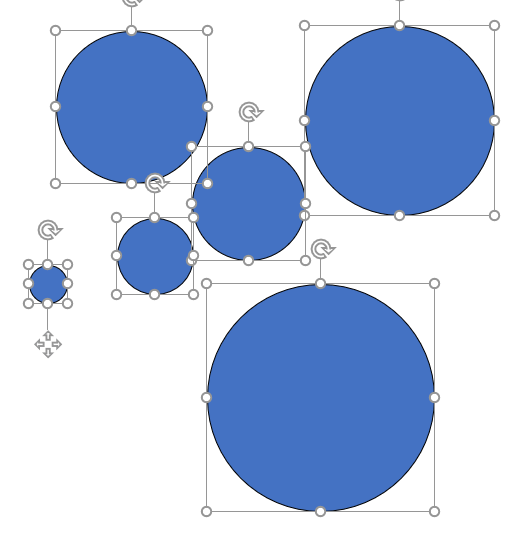
Resize each circle making one circle larger than the last one. To do this, click on one of your six circles, then go to Format. In the Size box, make your first circle with a height and width of 1cm (0.39 inches)
Go ahead and set another circle's height and width to 2cm (0.78 in inches). Follow this pattern and do this with every circle (3cm (1.17 inches), 4cm (1.56 inches), etc.).
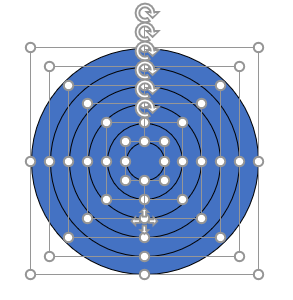
Now stack your circles in a way that shows it goes from smallest to biggest. To do this, you have to play around with PowerPoint's Arrange and Alignment Features. If you need guidance on this, just refer to the video.
Go ahead and fill in your circles with different colors sequentially so you get a dartboard infographic.
The Dart
You'll need to bring in three shapes into your PowerPoint slide: one rectangle with rounded corners, and two parallelograms.
Position them to look like a dart, just like the picture below.
Bring It All Together
Rotate your dart and stick it in the middle of your dartboard. You should end up with something like the image below.
Hurray! The hard part's done! You now have a dartboard infographic that goes well with your presentation objectives.
Step 2: Set up Your Objectives Slide
We're going to use a rectangle to set up the layout of the slide. Draw one out so that the width takes over the entire slide, but just be sure to keep the height short.
Now, place the dartboard on the left side of the slide, and keep your rectangle behind it.
After that, bring in a title for your objectives slide. Keep it short, sweet and noticeable.
Step 3: Bring in Your First Objective
To do this step, you're going to need some icons that represent what your first objective is about. If you're unfamiliar with how to do this, then check out Slide Cow's PowerPoint icon guide that will teach you three ways to bring in any icon you want into your slide.
Once you've brought in the icon you want, place it in the rectangle you made in the second step.
Underneath your icon, add a heading and some text that best explains your objective in a presentation setting. For best practice, I suggest following the SMART principle.
It's important to align everything to the left here because it focuses on the strategy of the slide. That is, we want the audience to read everything from left-to-right, so that everything's sequential.
Step 4: Replicate and Modify
Group up the elements that make up your first objective (the icon, heading, and text) and duplicate it. Keep duplicating until you have enough elements to capture your message in full. For example, if you have three objectives, then duplicate your first objective twice.
You're all set to modify each duplicated group to describe your other objectives. Keep it short and simple. Also, make sure everything is appropriately aligned and positioned.
Easy Peasy!
Designing PowerPoint objectives can be tricky, but hard work pays off! With a slide like this, you're sure to set your presentation on the right track from the get-go. Promise!
If you have any issues, just leave a comment below and I'll get back to you.





i could not understand what are slide layouts in microsoft power point
and explain the slide page layouts and explain the animation effects and slide objectives